WARNING
Trad climbing is technical and complex, requiring skills and experience that can be difficult or impossible to develop without help. We recommend that you learn from someone you trust and that when you begin placing your own gear, you do so on climbs that are well below your grade limit and have your mentor check the placements' security.
.jpg)
INTRODUCTION
So, you’ve been out climbing with your seasoned tradventure friends who have been teaching you all about how to belay, trad climbing technique, getting stuck nuts out, coiling the rope, and getting more stuck nuts out - and now you’re ready to begin your own gear collection.
Starting a trad rack is an exciting, but also daunting and expensive, endeavour for the budding trad climber, but we’re here to help.
Now, the most useful place to turn for advice on what gear to get would be the person who taught you to place gear. But if that’s not an option for whatever reason, the below guide sets out a general overview of each common piece of protection. It’s also worth noting that the requirements of a trad rack will vary significantly between areas, so something that is essential for a Frog Buttress climber is not necessarily essential for an Arapiles climber.
So, where to start?
Nuts, Stoppers, Wires
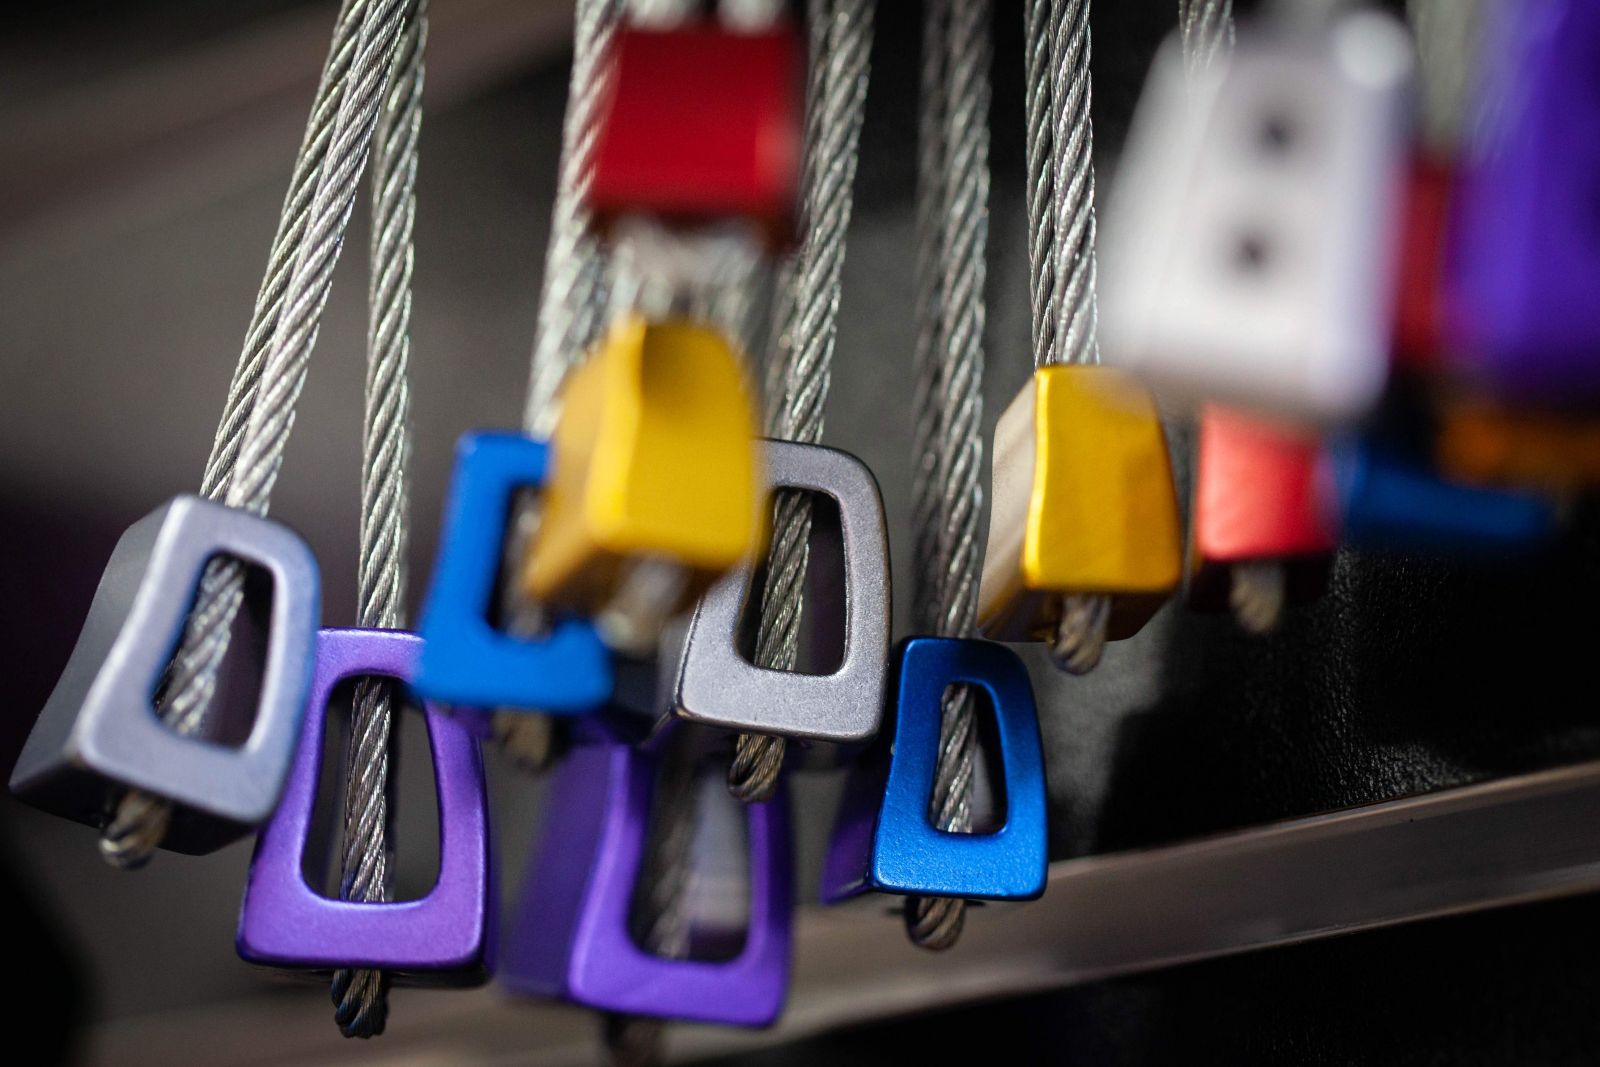
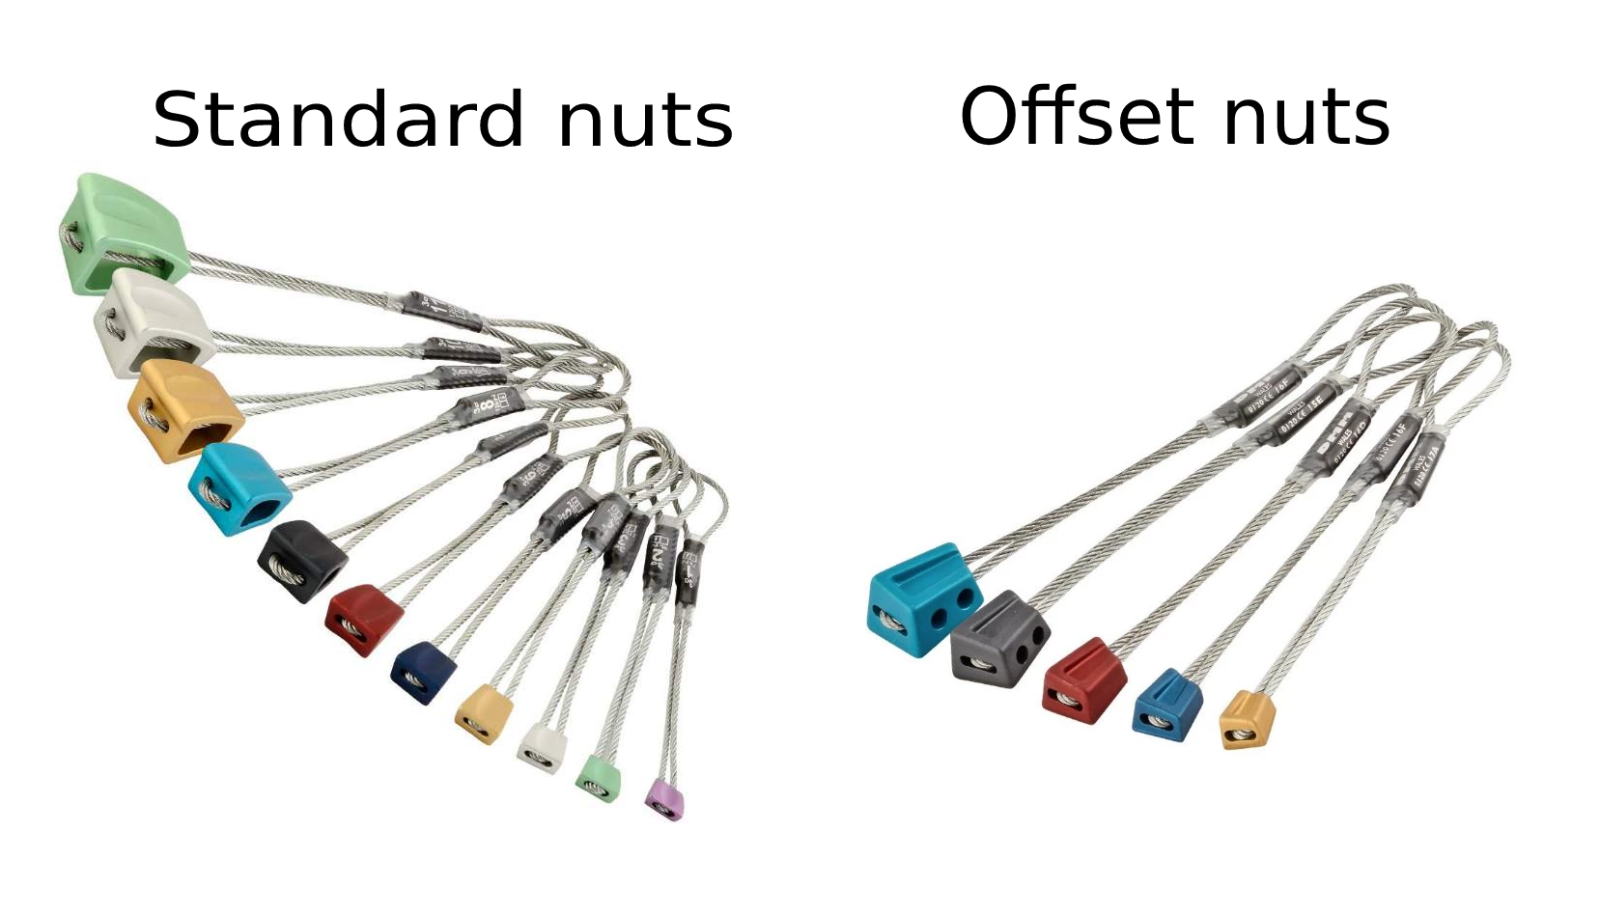
Nuts (or stopper/wire) are simple and relatively cheap - a staple of anyone's rack. Have at least one full set of them in your preferred brand. Great for placing in tapering (non-parallel) cracks/openings, a well-placed nut is one of the most secure pieces of protection you can get. Nuts can be difficult to remove once placed, so it’s also a very good idea to purchase a nut tool specifically designed to aid in their removal.

Offset Nuts
Offset nuts are nuts (see above) with an irregular shape that allows them to fit into a more diverse range of cracks and features. See the below picture to get an idea of the shape. Offsets are loved by many and are a good bet to supplement your existing nut collection.

HEXES
Hexes might just look like big nuts at first, but don’t be fooled. These bad boys can be used as “passive” (e.g., placing it so that the wire/sling pulls straight down) or “active” (e.g., placing it so that the wire/sling pulls down in a way that forces the hex to torque into the wall) protection and can be used a much wider range of placements than nuts can. In this active mode, hexes can be used to protect cracks that nuts and cams struggle with, such as inward flaring cracks.
As a general rule, we would recommend hexes to the budget-constrained as a poor-man’s cam alternative. If budget is not a major concern, a set of cams is going to (in most cases) be better than a set of hexes. And if budget is REALLY not a concern, a set of both is ideal! However, like with all trad rack considerations, a set of hexes may be more or less desirable based on the area you’re climbing.
CAMS
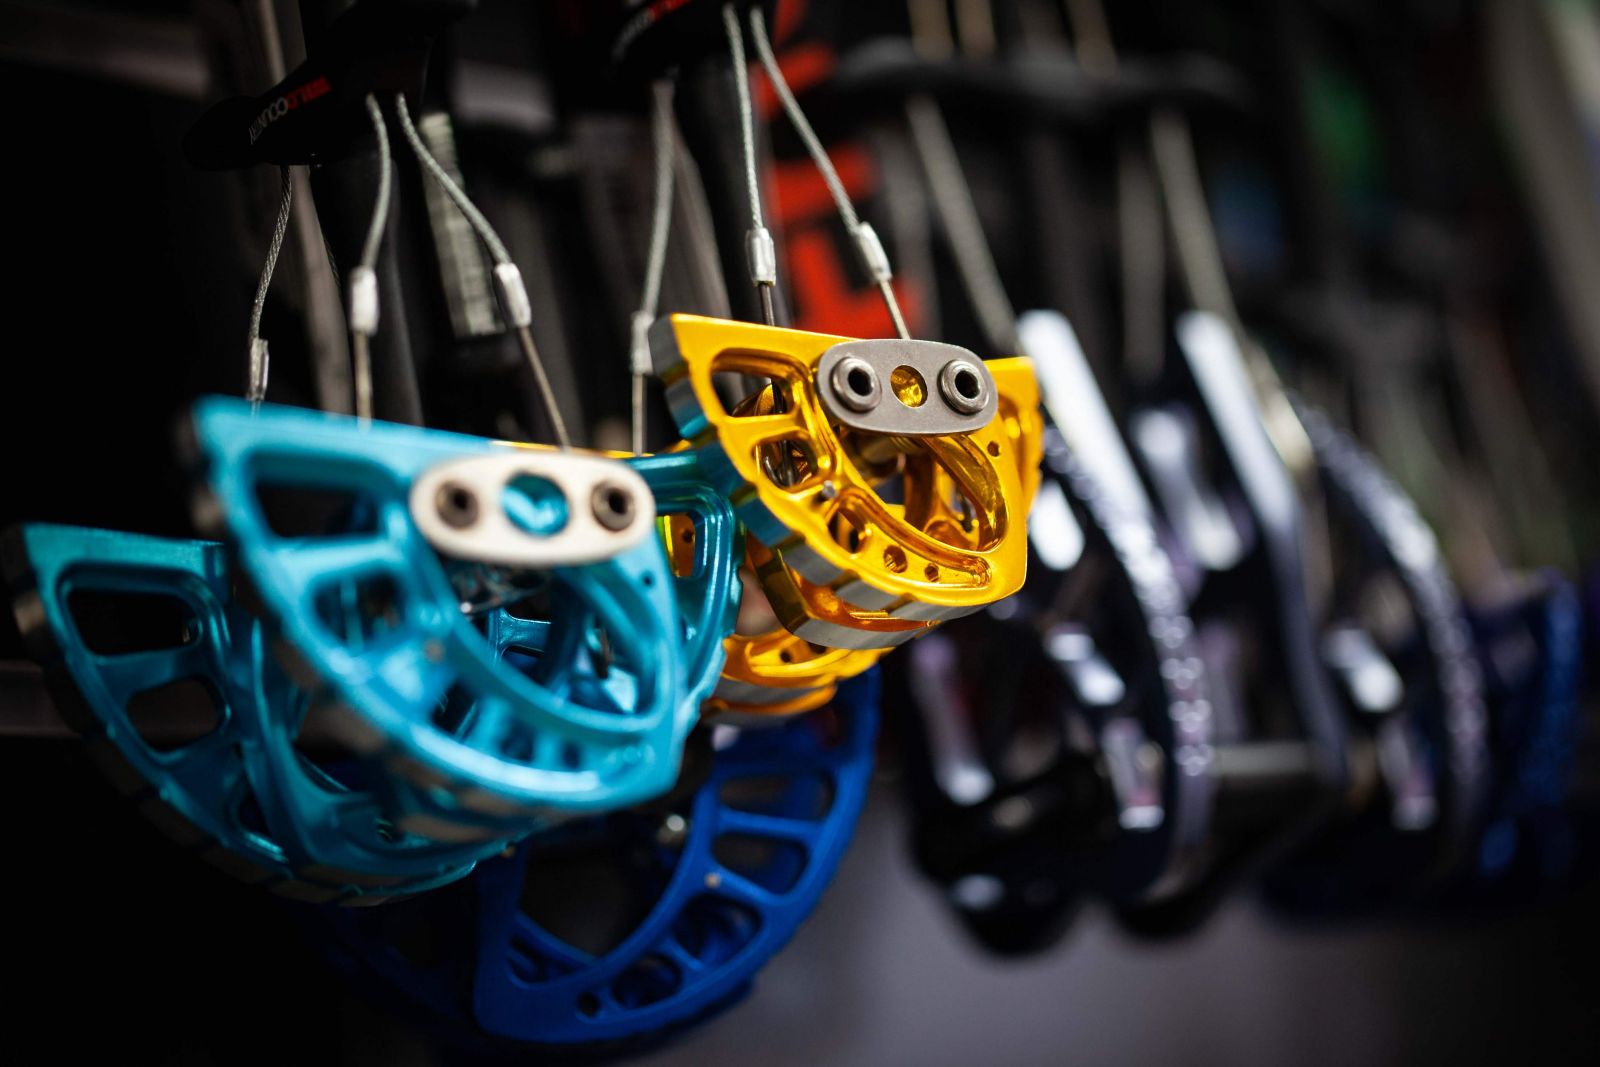
Cams are easy to place well, easy to remove when placed correctly, can protect parallel cracks, and are fun to play with.
A set of cams is one of the best purchases a budding trad climber can make and can find use in almost every trad crag in the world. While they are expensive, there’s a reason that people keep buying them. Their ease of placement means more time and energy can be spent on the actual climbing, rather than worrying about fiddly placements. Also, cams are able to fit in wider placements that nuts or hexes, which makes them better for protecting fist-sized or bigger cracks.

OTHER GEAR
The following gear is a great addition to any trad rack, and guidance on this gear can be found in Pinnacle Ambassador Ryan Siacci's South East Queensland Guide to Upgrading Your Trad Rack:
- A harness with extra gear loops, such as the Black Diamond Big Gun
- Gear sling - trad gear makes for a crowded harness
- Crack gloves - can be made of tape or can be purpose built Ocun / Singing Rock
- Belay glasses - keep the neck cramps at bay
- Anchor building stuff - a 6-8m length of cord is often used to make a cordelette anchor
- Helmets - even more essential than in sport climbing, as there is a higher risk of falling debris in the form of dropped gear (and trad climbing is more likely to take place on chossy rock)
- Speciality pro suited to the style of climbing at your preferred crag, such as:
- Stiff lace-up shoes such as the BD Aspect, which are better for jamming into cracks
- Alpine Draws - unlike sport climbing, a stiff quickdraw is less desirable in trad climbing due to the tendency for placements to “walk”. By using 60cm slings for your quickdraws, you will both reduce rope drag and reduce the chance of your protection being pulled out of place
FURTHER CONSIDERATIONS
Trad climbing is the first step into the world of adventure climbing, which can lead to putting yourself in some pretty precarious situations. In light of that, we also recommend the following:
Looking for more great reads? Subscribe to our newsletter to stay up to date with the latest climbing tech, crag recommendations and upcoming events.


.jpg)


